GhostNet 1.5, page 2
GhostNet Guide
S2 Underground field guide: GhostNet Guide
Version 1.5 — Stopgap Comms Solutions (CC BY-NC-SA 4.0)
Searchable page text (OCR / PDF)
2
Printing Instructions
This guide is intended to be printed by individual users using a wide variety of consumer grade printers.
The original intent for this guide is to be printed “Actual Size”, the dimensions of which are 4 x 6 inches. This
pairs well with 4 x 6 laminating pouches, and a variety of hole-punches for incorporation into a field binder
or bound together with ordinary zip ties.
Larger versions can be printed as well. For those with restrictive eyesight, the smaller font sizes may be
frustrating. By selecting “Fit to Page” in the print settings, this document will “stretch” appropriately to
fill an entire page, with no loss of resolution. When combined with sheet protectors, this makes a great
addition to any SOP binder.
Step 1: Verify and Download
Check to make sure you have the file of the
latest version.
The most recent file will be uploaded to our
GitHub page here:
https://github.com/s2underground/GhostNet
Step 2: Print
Print Actual Size, Duplex, Flip on Long Edge
If your printer has a High-Quality setting, use
that. Higher quality paper is also recom-
mended, but this document is optimized for
low-grade copier paper as well.
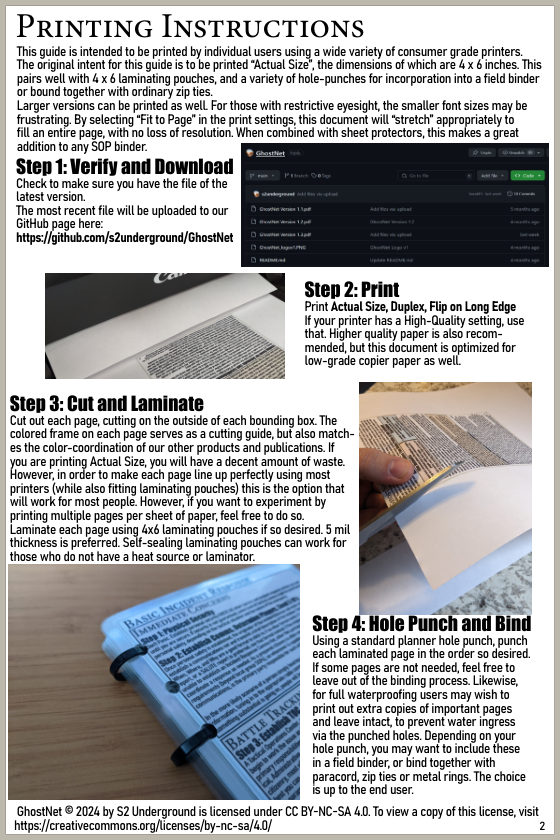
Step 3: Cut and Laminate
Cut out each page, cutting on the outside of each bounding box. The
colored frame on each page serves as a cutting guide, but also match-
es the color-coordination of our other products and publications. If
you are printing Actual Size, you will have a decent amount of waste.
However, in order to make each page line up perfectly using most
printers (while also fitting laminating pouches) this is the option that
will work for most people. However, if you want to experiment by
printing multiple pages per sheet of paper, feel free to do so.
Laminate each page using 4x6 laminating pouches if so desired. 5 mil
thickness is preferred. Self-sealing laminating pouches can work for
those who do not have a heat source or laminator.
Step 4: Hole Punch and Bind
Using a standard planner hole punch, punch
each laminated page in the order so desired.
If some pages are not needed, feel free to
leave out of the binding process. Likewise,
for full waterproofing users may wish to
print out extra copies of important pages
and leave intact, to prevent water ingress
via the punched holes. Depending on your
hole punch, you may want to include these
in a field binder, or bind together with
paracord, zip ties or metal rings. The choice
is up to the end user.
GhostNet © 2024 by S2 Underground is licensed under CC BY-NC-SA 4.0. To view a copy of this license, visit
https://creativecommons.org/licenses/by-nc-sa/4.0/